Bouncing Back from a Shoulder Dislocation: Your Ultimate Guide to Rehab Exercises! (Level 1)
The shoulder, being the body’s most mobile joint, boasts great flexibility but also carries the risk of Shoulder dislocation. When a dislocation occurs, the joint shifts out of its socket, causing the surrounding ligaments, muscles, tendons, and nerves to undergo significant stretching and pulling. This often results in various strains, sprains, numbness, tingling sensations, and noticeable swelling. While complications like cartilage tears can arise, we’ll delve into those details in a future discussion. Learn how to Accelerate Shoulder Dislocation Recovery.
Recovery 101: Keep it Moving, Avoid the Stiffness
In the initial stages of Shoulder Dislocation Recovery, typically spanning the first 1-3 weeks, it is imperative to maintain shoulder mobility and prevent stiffness from setting in. Wearing a sling during this period is common, but that doesn’t mean you should be immobilized! Instead, the sling acts as crucial support for the loose shoulder joint in its early healing stages.
During this vulnerable stage, exercise should be pain-free. If any discomfort or instability is felt during an exercise, it is advised either to refrain from that specific exercise or to limit the range of motion.
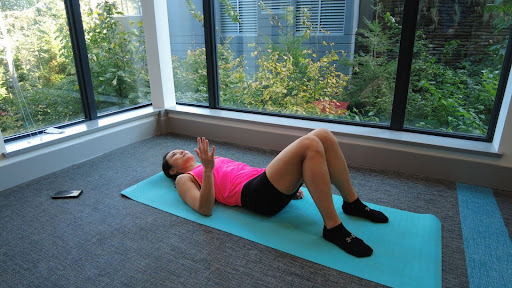
Let’s Get Moving: A Step-by-Step Guide
Shoulder Circles:
– Inhale, bringing the shoulders up towards the ears, exhale as you draw them back and circle forward and upward. Repeat this sequence five times, and then reverse it. This exercise aids in relaxing the neck and shoulder muscles, commonly tense after a Shoulder dislocation.
Shoulder Blade Squeeze:
– Sit tall, drawing the shoulder blades back and down. Squeeze them together, holding for 2-3 seconds. Return to the start position and repeat 15 times for 2-3 sets. This exercise prevents the shoulders from rolling forward, especially when experiencing pain, initiating the strengthening process for the shoulder girdle.
Shoulder Flexion AAROM:
– While standing or lying down, interlace your fingers, keeping the elbows straight. Use the strength of the non-injured arm to raise the shoulders above the head comfortably. Repeat to maintain pain-free motion and prevent stiffness.
Shoulder Abduction AAROM:
– Utilize a stick or similar item, placing one arm on each end. With the strength of the unaffected arm, push the injured arm to the side comfortably. Repeat 10 times for 2-3 sets.
Shoulder External Rotation to Neutral:
– In a standing or lying position, keep the elbow bent at 90 degrees. Gently turn the arm outward until the fingers point in front of you. Repeat 15 times for 2-3 sets, ensuring no pain during the exercise.
Isometric Shoulder Extension Against a Wall:
– Stand in front of a wall, with the back of the elbow against it. Gently push the elbow into the wall, holding for 2-3 seconds. Repeat 10 times for 2-3 sets.
Isometric Shoulder External Rotation:
– Stand near a wall or doorway, elbows bent at 90 degrees. Push the back of the hand into the wall as if you are turning your hand outward. Hold for 2-3 seconds and repeat 10 times for 2-3 sets.
Isometric Shoulder Internal Rotation:
– Stand near a wall or doorway, elbows bent at 90 degrees. Push the palm of the hand into the wall as if you are turning into your belly. Hold for 2-3 seconds and repeat 10 times for 2-3 sets.
Daily Routine for Optimal Recovery:
Performing these seven exercises daily helps prevent stiffness and initiates the gentle activation and strengthening of shoulder muscles.
Additional Tips for Relief:
– Icing the shoulder daily aids in decreasing joint swelling.
– For those experiencing neck and upper shoulder pain, a drug-free relief option is using a TENS machine. A detailed video guide on setting up and proper usage is available in this link.